Building a Root Cellar: A Practical Guide
If you’re interested in living a more self-sufficient lifestyle, one of the most important skills you can learn is how to store food for long periods of time. A root cellar is a great way to do this, as it provides a cool, dark, and humid environment that is perfect for storing fruits, vegetables, and other perishable goods. In this article, we’ll provide a practical guide on how to build your own root cellar.
Step 1: Choose a Location
The first step in building a root cellar is to choose a location. Ideally, you’ll want a spot that is shaded and protected from direct sunlight, as well as from heavy rain or flooding. The location should also be close to your home or garden, as this will make it easier to transport food back and forth. Finally, the location should be easily accessible, as you’ll need to be able to get in and out of the cellar on a regular basis.
Step 2: Determine the Size and Design
The size and design of your root cellar will depend on your needs and the amount of space you have available. If you’re only storing a small amount of food, a small underground chamber or a pit in the ground may be sufficient. However, if you have a large garden or orchard, you may want to consider a larger, above-ground structure.
When designing your root cellar, it’s important to keep in mind the principles of insulation and ventilation. The walls and roof should be thick enough to provide insulation from the heat and cold, while also allowing for proper ventilation to prevent mold and mildew growth. Additionally, you’ll want to consider the types of shelves or racks you’ll use to store your food, as these should be designed to maximize airflow and prevent spoilage.
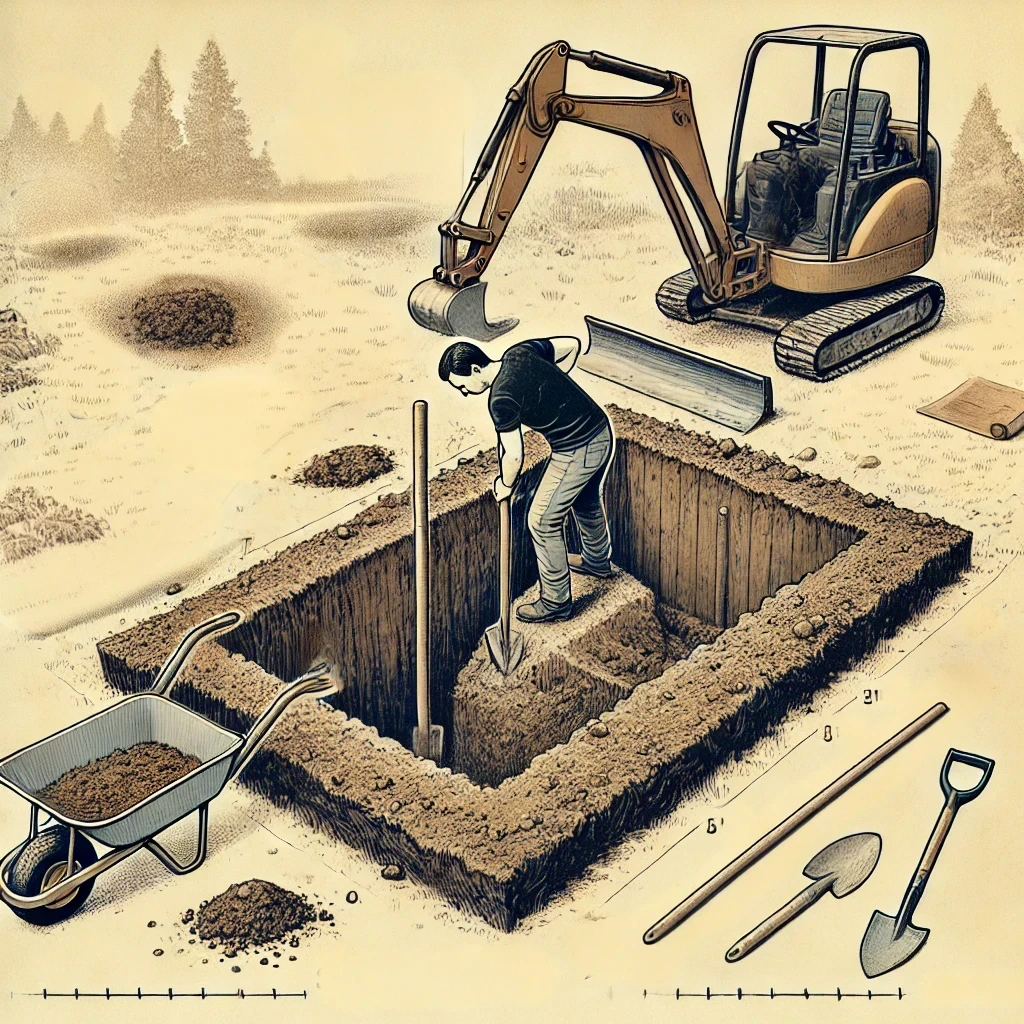
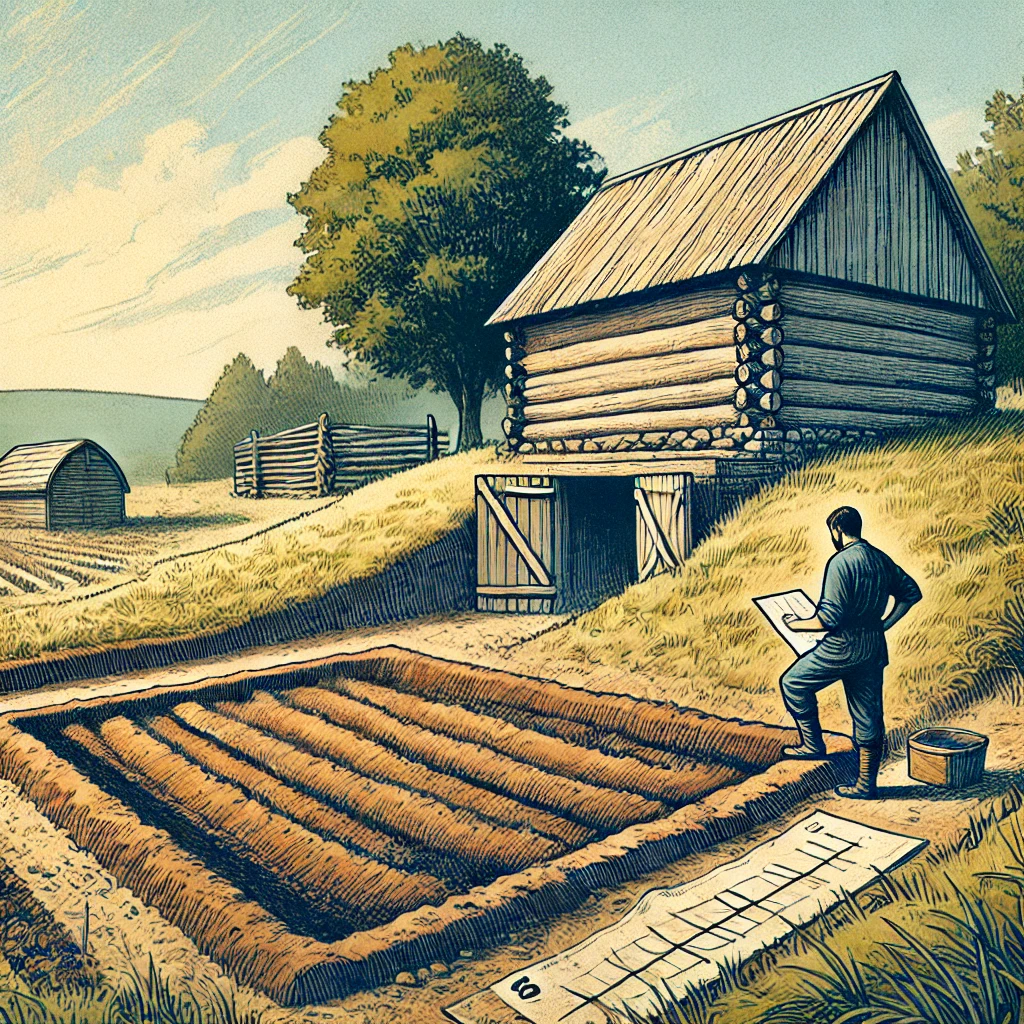
Step 3: Dig the Hole
If you’re building an underground root cellar, the next step is to dig the hole. This can be done by hand or with heavy machinery, depending on the size and depth of the hole. The hole should be deep enough to provide adequate insulation from the outside temperature, typically at least 6 feet deep.
As you dig, it’s important to keep the sides of the hole straight and level, as this will make it easier to install the walls and roof. Additionally, you’ll want to make sure the soil is firm and compacted to prevent cave-ins or collapses. Do not enter an unsupported hole!
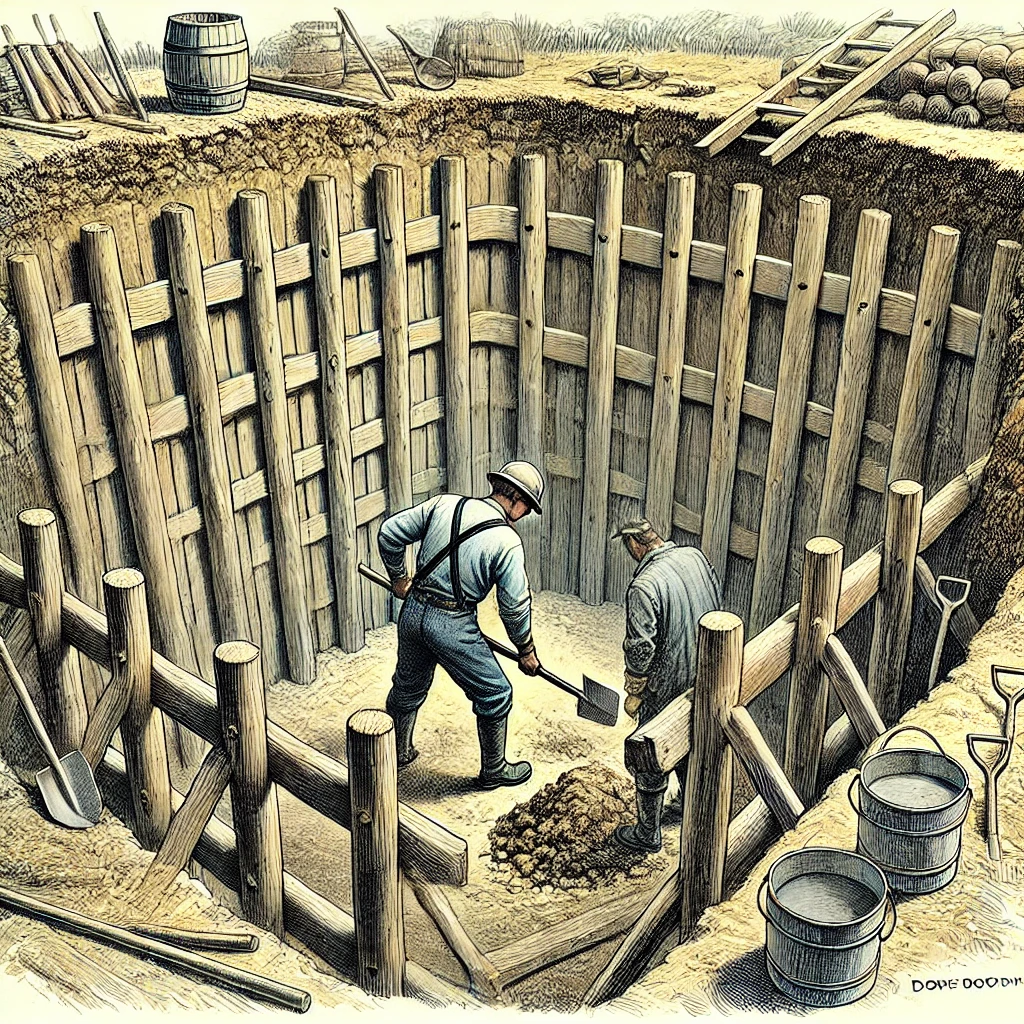
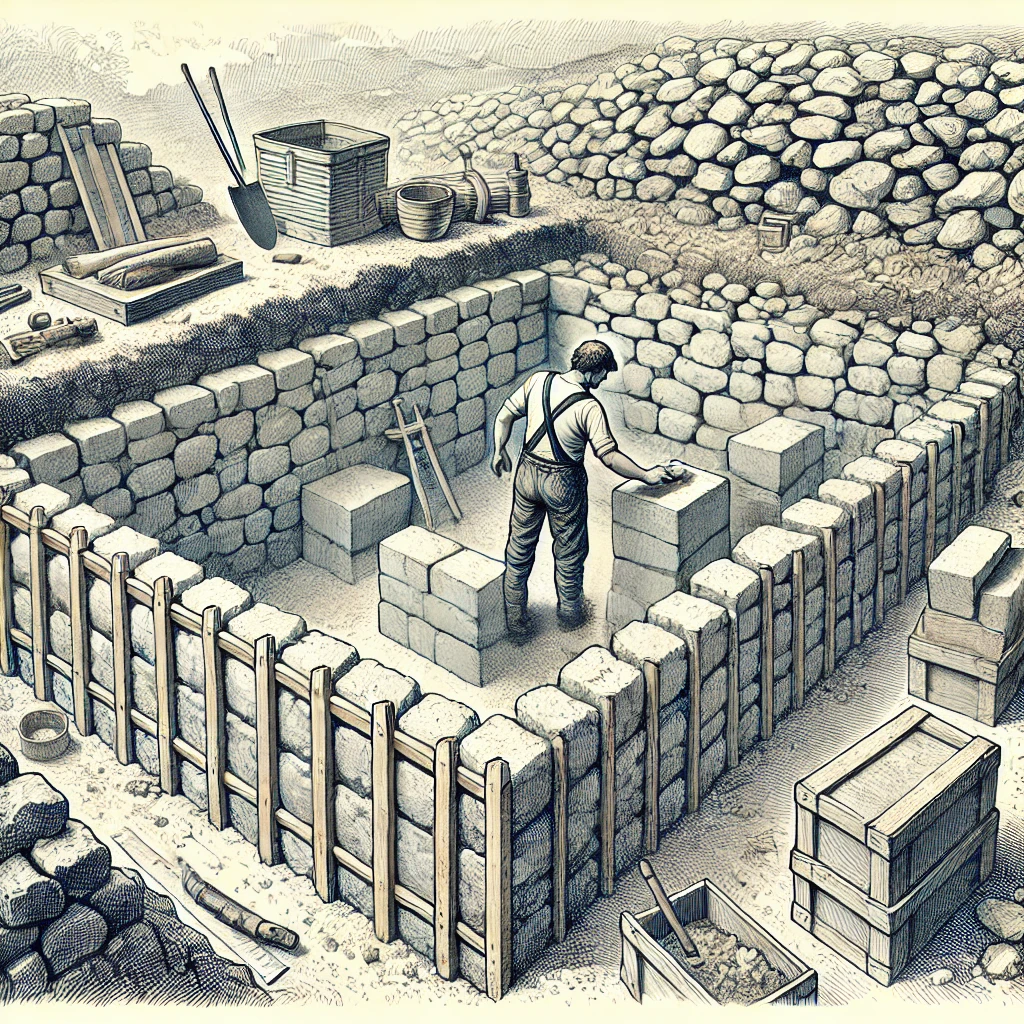
Step 4: Build the Walls and Roof
Once the hole is dug, it’s time to install the walls and roof. This can be done using a variety of materials, including concrete, brick, stone, or wood. Whichever material you choose, it’s important to make sure it is strong, durable, and provides adequate insulation.
For added insulation, you may want to consider using straw bales or other natural materials to fill the gaps between the walls and roof. This will help keep the temperature inside the root cellar cool and consistent, even in hot or cold weather.
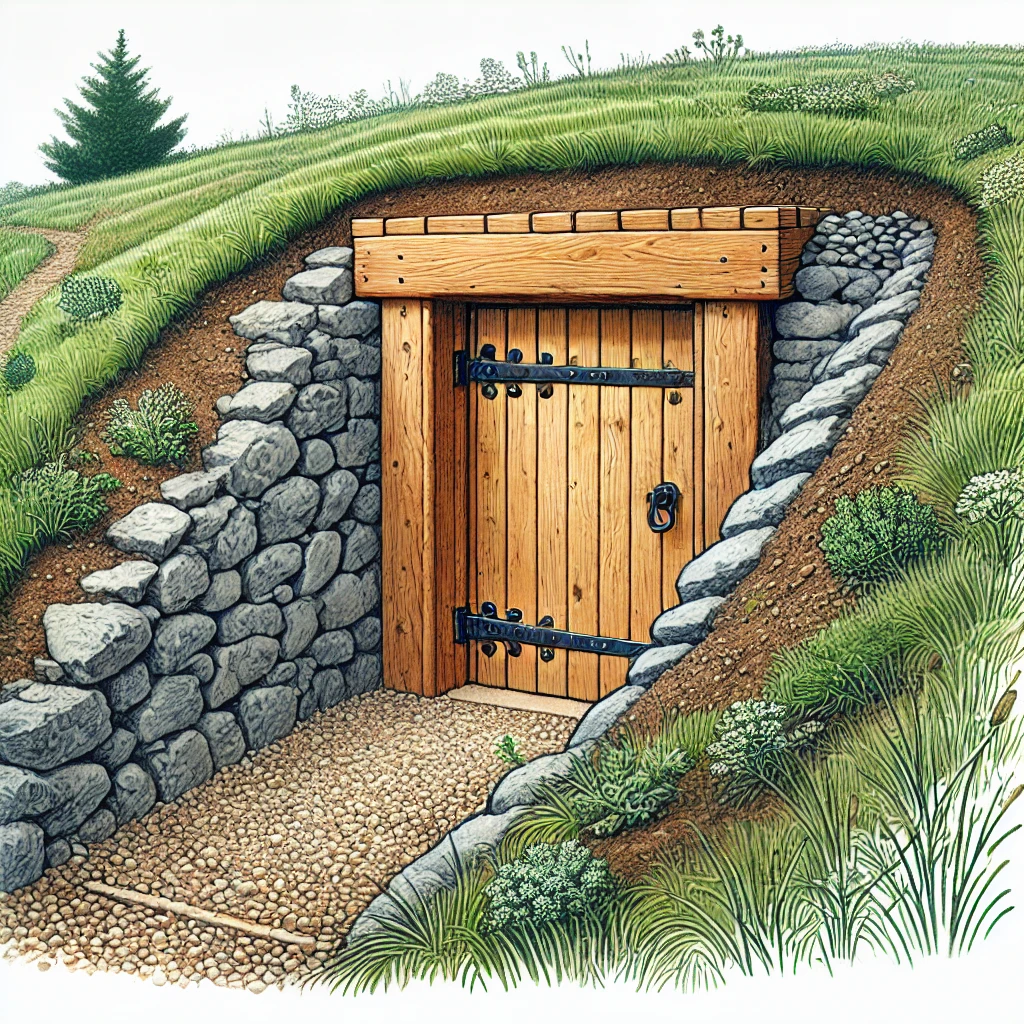
Step 5: Install the Door
The next step is to install the door. This should be a solid, insulated door that is easy to open and close. You may want to consider adding a small air vent or window to the door to allow for additional ventilation.
Step 6: Install Shelves and Racks
With the walls and roof in place, it’s time to install shelves and racks for storing your food. The shelves should be made from a sturdy material that can support the weight of your stored food, such as wood or metal. It’s important to leave enough space between the shelves to allow for good airflow, as this will help prevent spoilage and mold growth.
You may want to consider installing sliding or pull-out shelves, as these can make it easier to access your stored food without having to move everything around. Additionally, you may want to label your shelves or use a color-coding system to help you quickly and easily find the items you need.
Step 7: Add Lighting and Humidity Control
To make your root cellar more functional and comfortable, you may want to consider adding lighting and humidity control. Lighting can help you see what you’re doing when you’re in the cellar, while humidity control can help prevent excess moisture from causing mold growth or spoiling your stored food.
For lighting, you may want to consider installing LED lights or other energy-efficient lighting options. For humidity control, you may want to use a dehumidifier or humidifier, depending on the humidity levels in your area.
Step 8: Stock Your Root Cellar
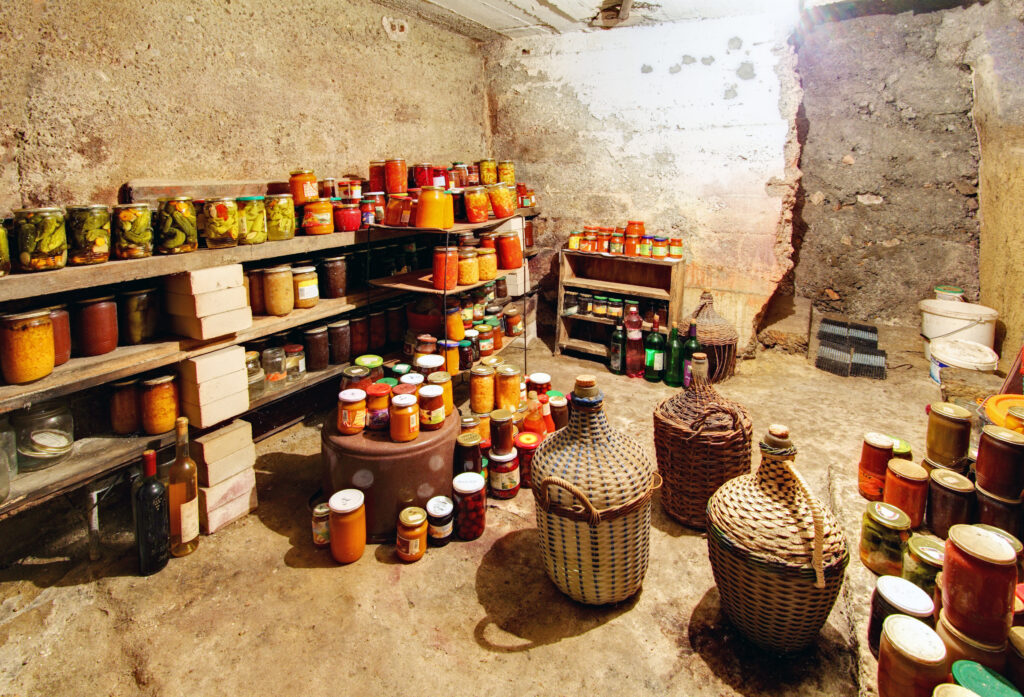
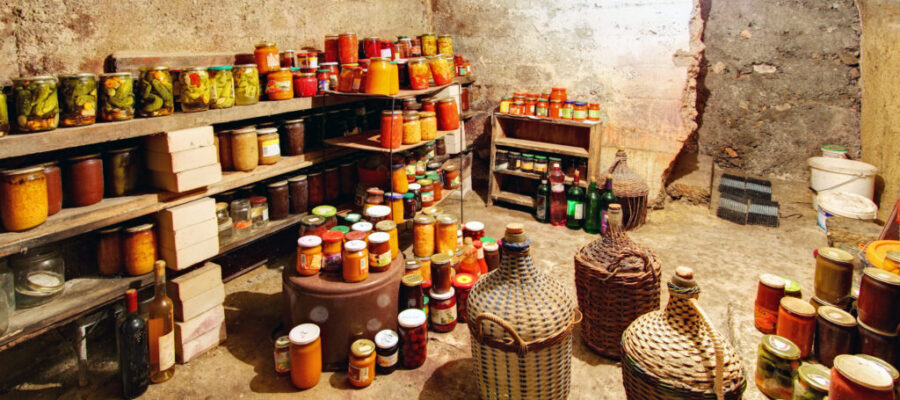
With your root cellar complete, it’s time to stock it with food. Be sure to store your food properly, placing items that need to be kept cool on lower shelves or closer to the ground, and items that need to be kept dry or warm on higher shelves. It’s also important to rotate your food regularly, using older items first and restocking as needed.
By following these steps, you can create a functional and effective root cellar that will help you preserve your food and prepare for emergencies. With proper planning and maintenance, your root cellar can provide you with a reliable source of fresh, healthy food for years to come.”
Solar Power: A Sustainable Solution for Living Off the Grid
Living off the grid is a lifestyle choice that prioritizes self-sufficiency and sustainability by disconnecting from traditional utilities like electricity, water, and gas. Among the […]